Glass Scratch Remover
![]()
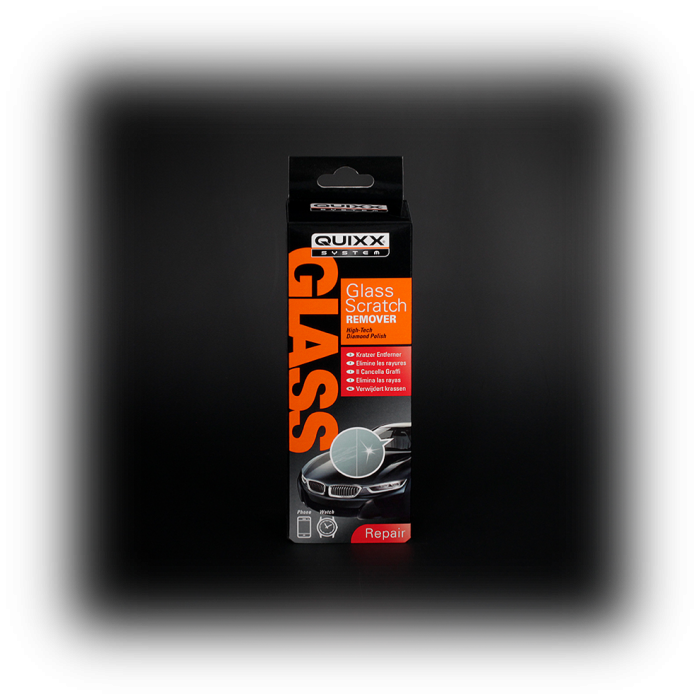
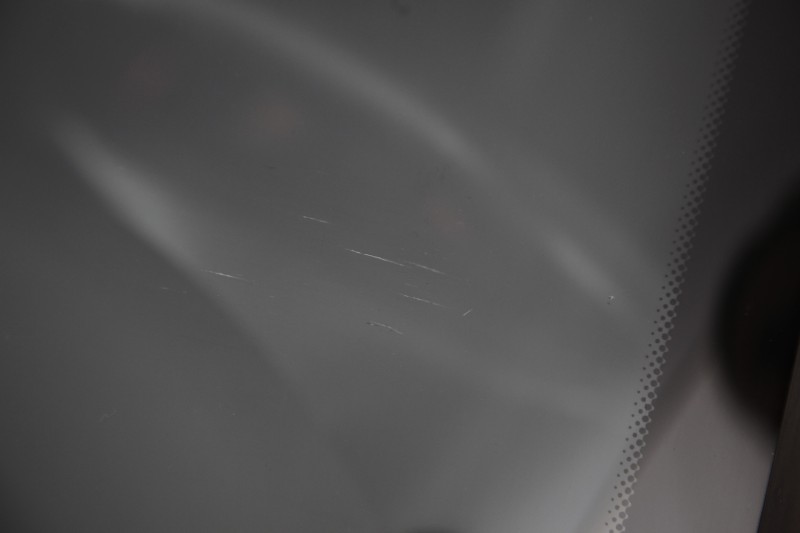
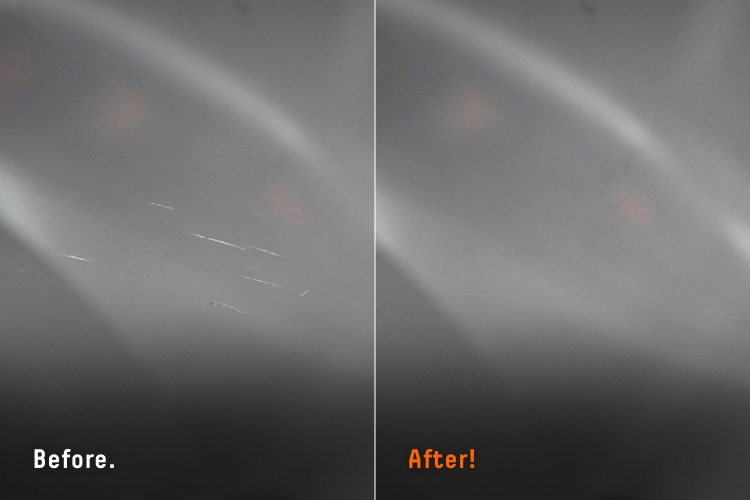
The secret of our QUIXX Glass Scratch Remover is powerful diamond abrasives that use two revolutionary polishing pastes to remove scratches from glass surfaces for the ultimate results. Annoying scratches on car windows, watch glass, glass furniture, decorations and window panes can finally be a thing of the past.
Product details:
- Many versatile uses: Car, clocks, furniture, household,
- 2-component system; the high-tech diamond polish removes the scratches and the high performance diamond finish polishes to a high gloss
- Simple, fast and effective application
- Avoids expensive repairs and maintains value
- Professional results through innovative QUIXX Diamond Polishing Technology (DPT)
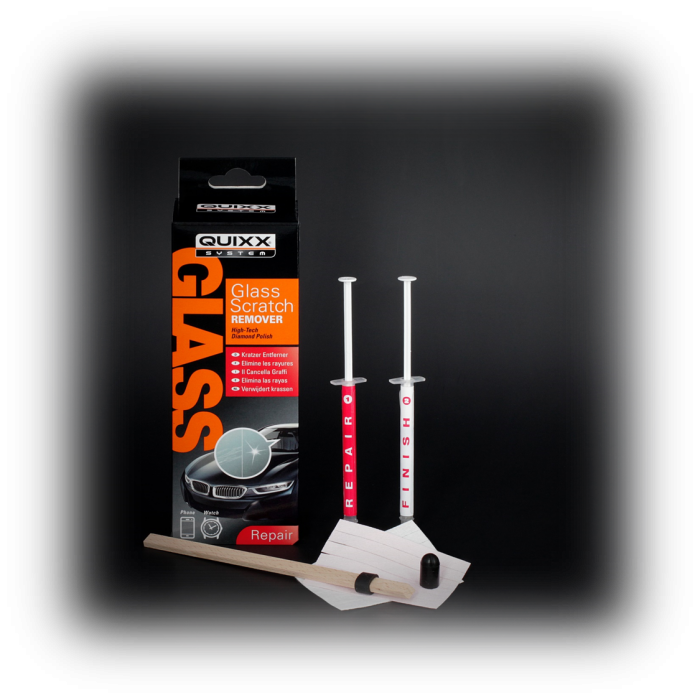
- Let's get started: The all-inclusive kit contains all the utensils you need for making repairs.
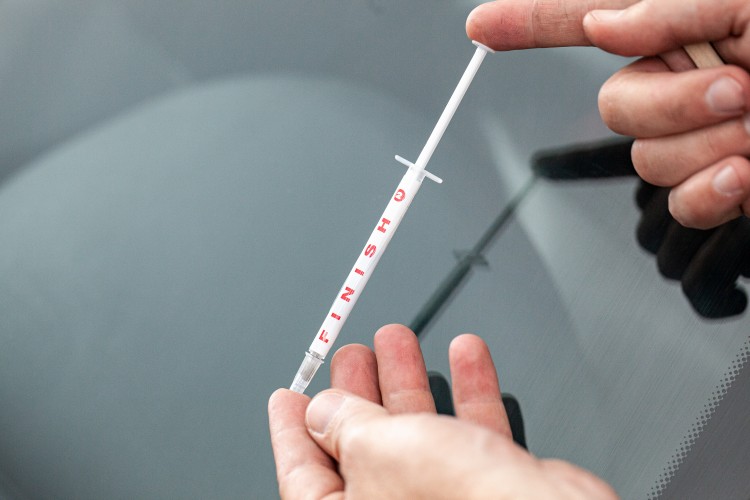
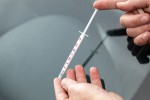
- Contents: 1 syringe Repair No. 1, 1 syringe Finish No. 2, 1 polishing rod and 2 x 6 polishing strips
How to do!
To learn how to erase fine, light and medium scratches with the QUIXX Glass Scratch Remover, refer to our Step by Step Repair Guide. Please note that it may only be possible to improve deep scratches and they may not be entirely removed. Do not use for eye glasses or optical lenses. Do not use on coated or anti-reflective surfaces. Not suitable for use on tablets.
Click your way through the pictures on the right to go through the repair process step by step.
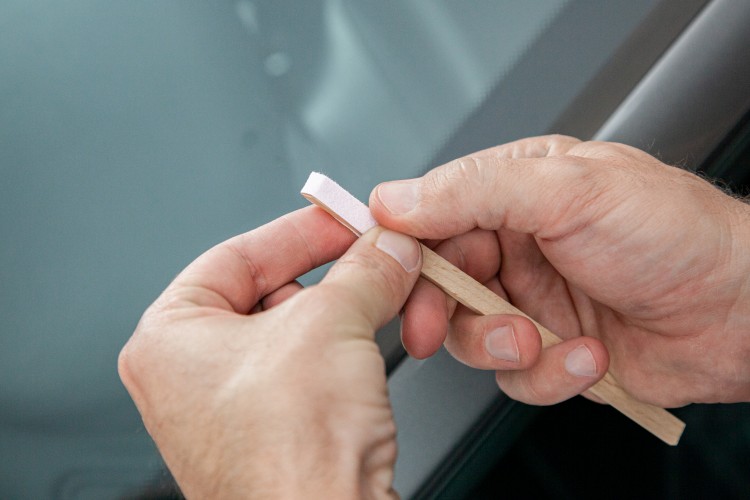
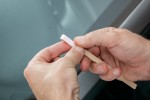
1. Clean the glass well, dry and apply tape around the scratched area. Leave a space of approximately 5-6 mm to the left and right parallel to the scratch so that a 10-12 mm wide area is left for polishing. Then slide the enclosed rubber protective cap over the end of the polishing rod and attach the pink polishing strip to the bevelled side of the polishing rod with the rubber ring.
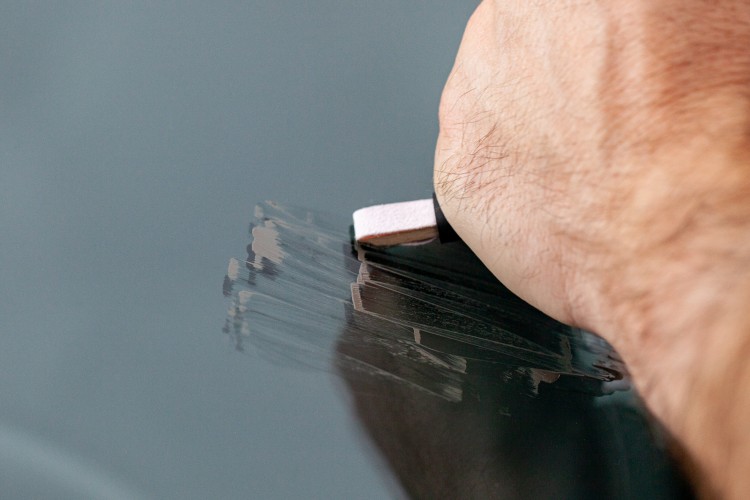
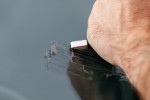
2. Apply approximately 0.04-0.06 ml of Repair No. 1 paste (this is approximately 2-3 units on the syringe scale) to the scratched area or to the tip of the polishing rod. Polish the scratched area for 3 minutes (= 1 polishing unit) with the polishing rod applying firm pressure and with a fast motion at an angle of 90 degrees to the scratches, whereby the bevelled surface of the polishing rod must rest on the glass with the entire surface when polishing. Make sure that the 3 minutes polishing time period is observed. Carefully dab the polish with a damp cloth and use it to then thoroughly clean the treated surface. If the scratches are still visible, carry out further 3 minute polishing units until all of the scratches have been completely removed.
3. Remove the tape and clean the glass. Now attach the white polishing strip to the bevelled side of the polishing rod using the rubber ring. Apply 0.04 - 0.06 ml of the Finish No. 2 paste (equivalent to approximately 2-3 units on the syringe scale) to the treated surface or to the microfibre cloth on the tip of the polishing rod. Now polish again applying firm pressure and with a fast motion until no more micro scratches / marks are visible.
4. Clean the surface Finished! If scratches are still visible, start again with Step 2 and continue with further 3 minute polishing units until all scratches have been removed.
