Wheel Repair Kit
![]()
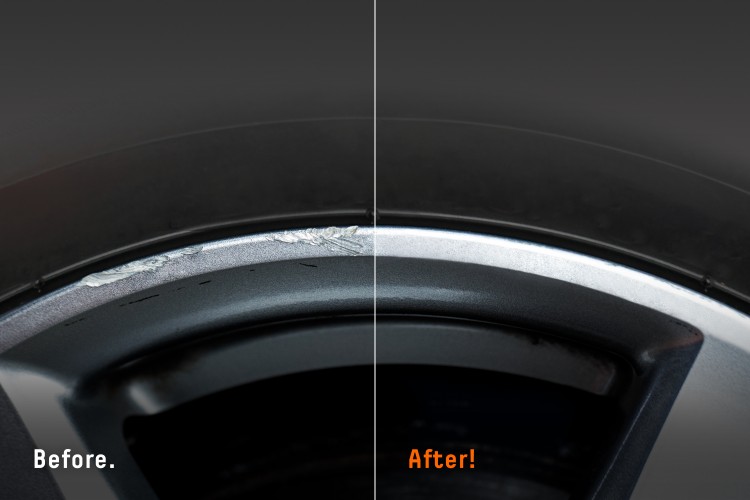
The QUIXX Wheel Repair Kit with the innovative QUIXX Liquid Aluminium technology lets you can quickly eliminate the damage. Scratches and even small pieces broken out of the rim are easily repaired: The rim is modelled back to its original shape and then the treated area is painted using the touch-up pen supplied.
Product details:
- 2-component system
- The appearance of the rim is permanently restored by filling in the damage areas with the repair compound supplied.
- The repair compound combines harmoniously with the aluminium of the wheel rims for a long-lasting restoration.
- Avoids expensive repairs and maintains value
- Professional quality results
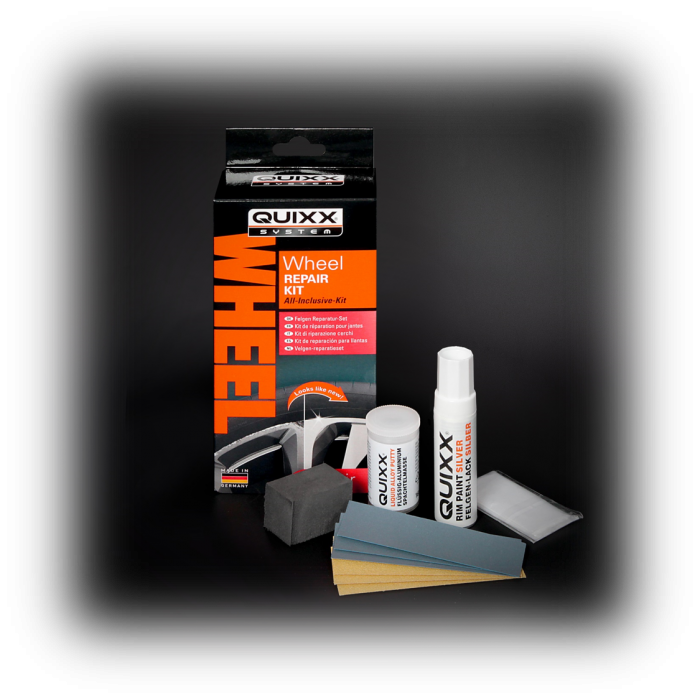
- Let's get started: The all-inclusive kit contains all the utensils you need for making repairs.
- Contents: 1 "liquid aluminium" repair filler, 1 rim varnish, 100 and 600 special sandpapers, 1 sanding block, 1 pair of gloves
How to do!
Even the layman can repair smaller scratches and damages in aluminium rims in just a few steps with the QUIXX Wheel Repair Kit. You can find out how in our Step by Step Repair Guide.
Click your way through the pictures on the right to go through the repair process step by step.
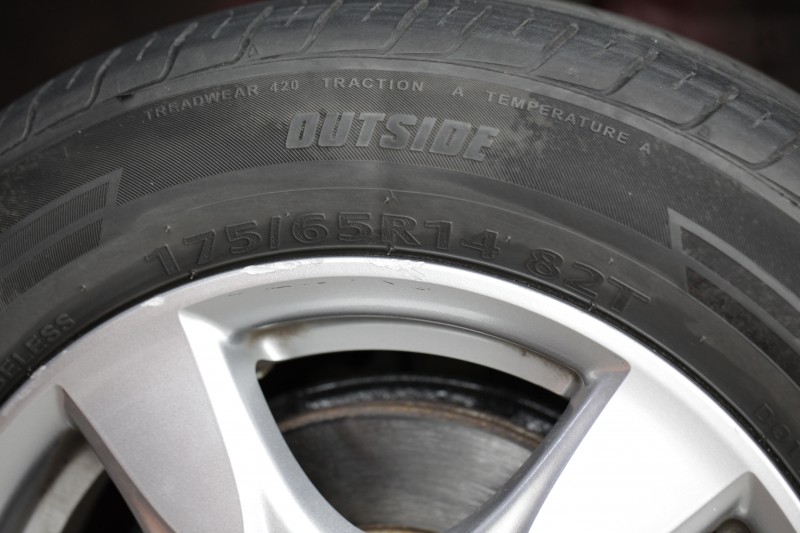
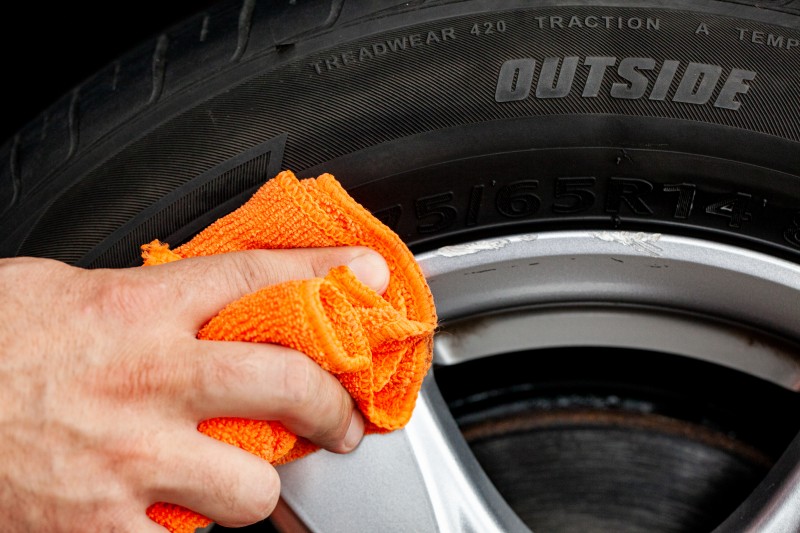
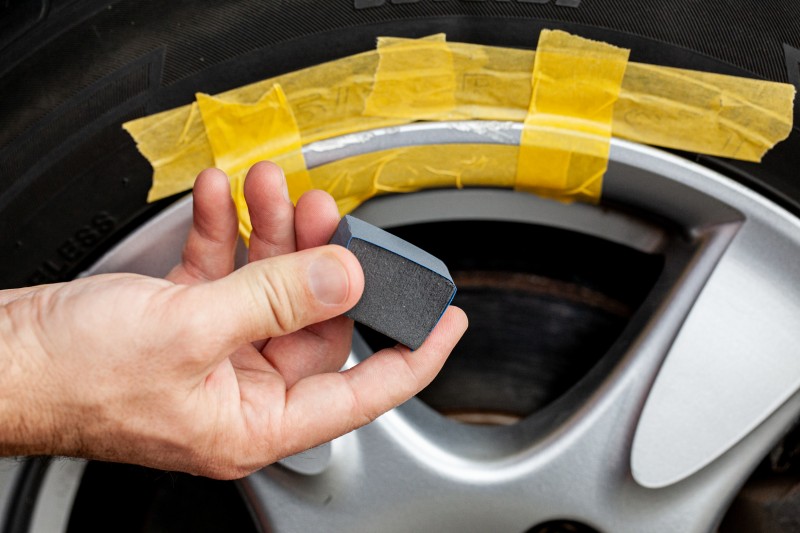
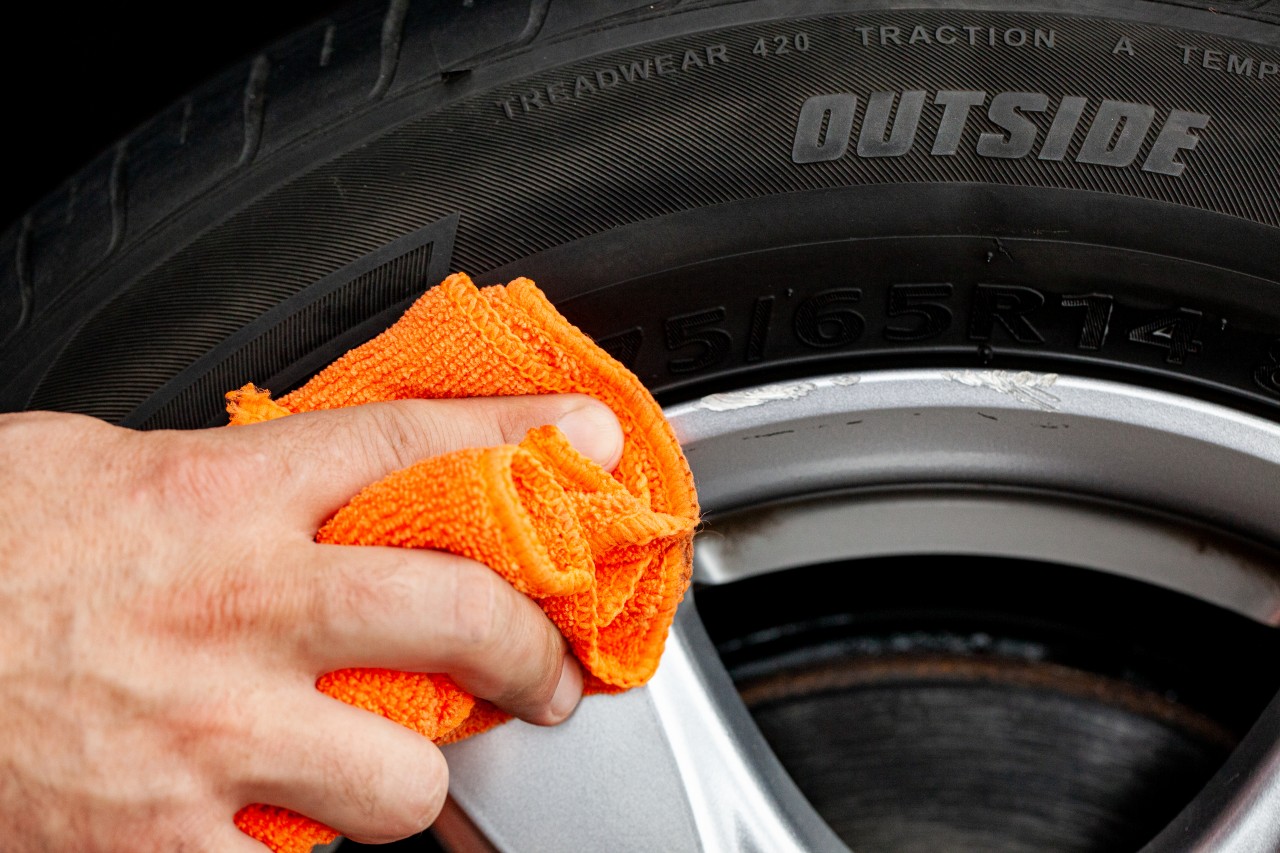
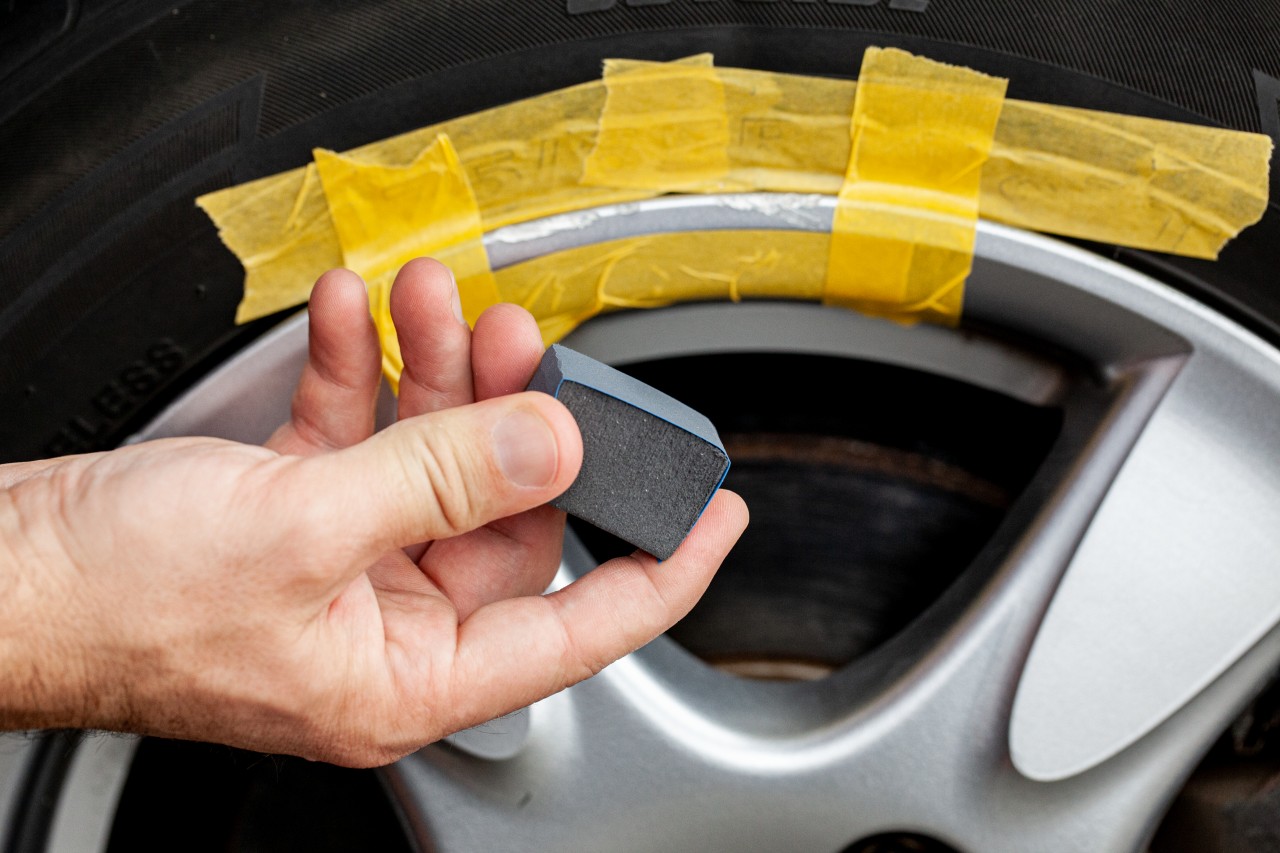
1. First clean the rim thoroughly with a rim cleaner and remove brake dust, dirt, wax, polish, etc. Remove any loose paint and protruding aluminium around the area to be repaired. Carefully apply tape as protection in order to avoid sanding marks on the undamaged areas close to the damaged area.
2. Gently treat the damaged area to a smooth finish with the sandpaper (grey, 600 grit) wrapped around the sanding block. Then clean the treated areas with soapy water and dry thoroughly.
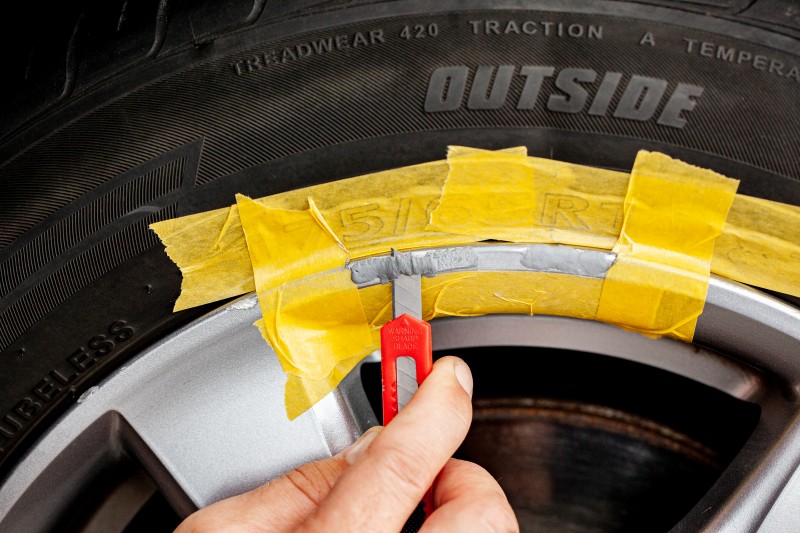
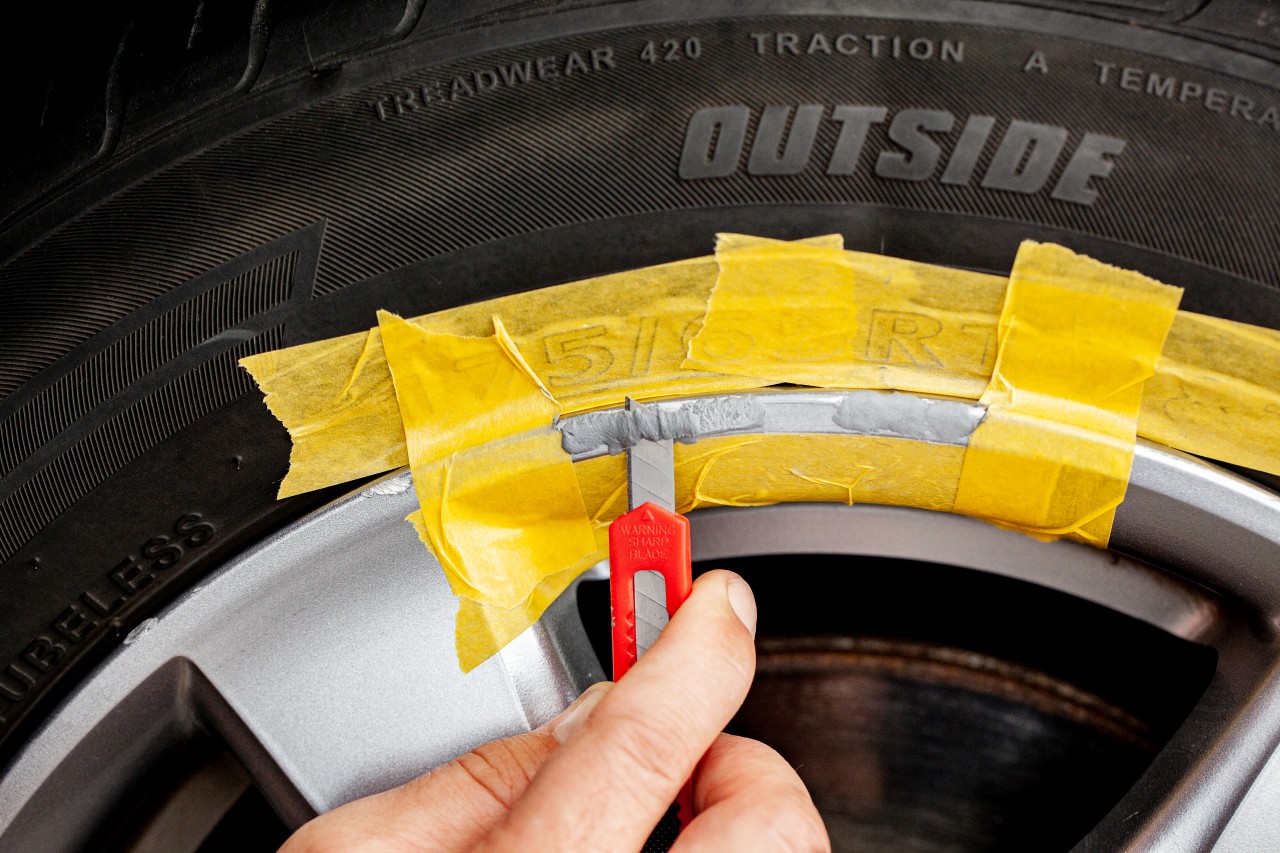
3. Place an appropriate amount of filler on or in the damaged area and model the filler into the shape of the rim with your fingers and the side of the knife blade.
After curing (takes approx. 2 hours), smooth the filler using the sandpaper (grit size 100) until the contour of the repair area perfectly matches the rim. Then with a little water, wet sand using the grey sandpaper (600 grit) to smooth the surface of the repaired area ready for the paint. Wash the rim once again with warm soapy water and rinse thoroughly with clear water to remove all residues. Dry the rim thoroughly.
4. Use a brush to apply a small amount of paint in several thin layers to the area being repaired. Wipe off excess paint as soon as possible with a paper towel for example. Leave the paint to dry for approximately 2 to 3 hours. Then carefully wet sand the varnished area using the sandpaper provided (grey, grain 600).
Small scratches and damage: Before starting the repair, clean the rim thoroughly and then treat the damaged area gently with the sandpaper wrapped around the sanding block (grey, 600 grit). Then treat only the repaired area with the touch-up pen.

